Introduction
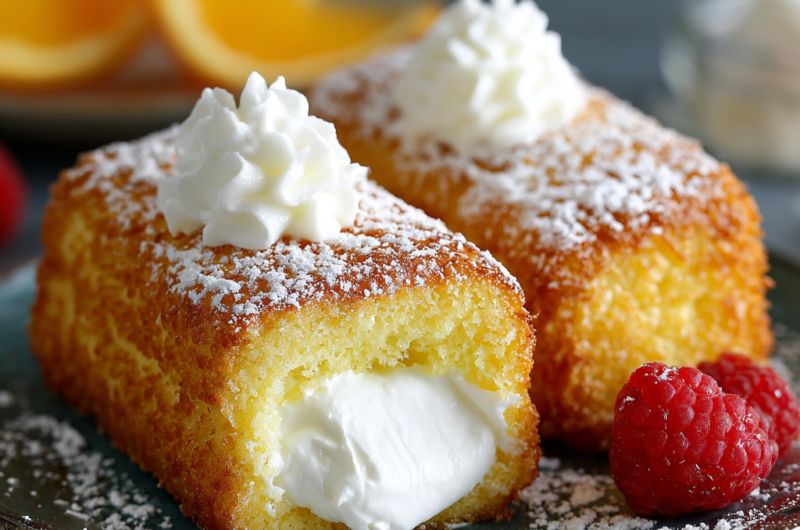
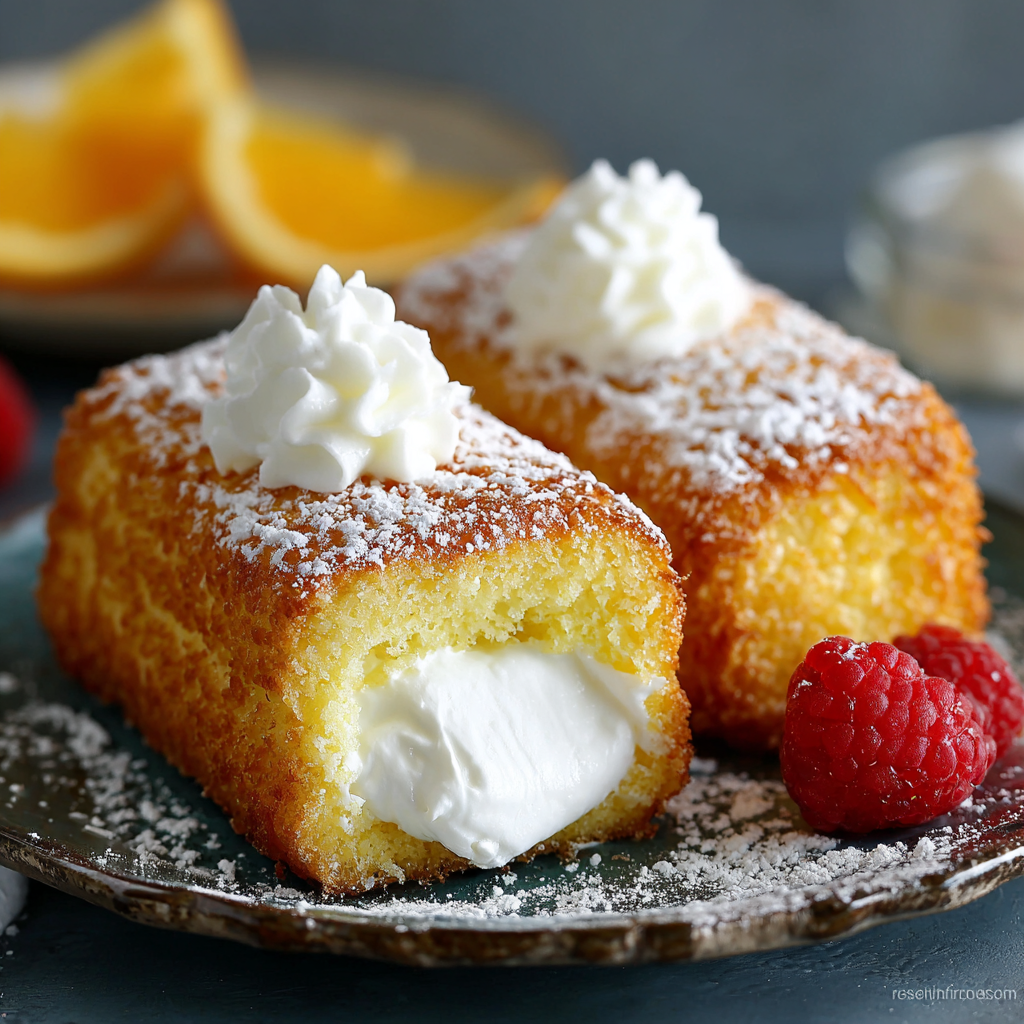
Twinkies have long been a cherished snack cake, known for their soft sponge and iconic cream filling. While store-bought versions have their charm, crafting homemade Twinkies allows you to control flavors and ingredients fully, resulting in a treat that’s fresher and more delicious.
This recipe will guide you through creating the soft sponge cake and the creamy filling that makes Twinkies so beloved. With simple ingredients and a touch of patience, you'll bring a classic treat into your kitchen that captures the spirit of nostalgia.
Imagine biting into a tender, homemade cake filled with sweet, fluffy cream—no preservatives, just pure delight. Let’s get started on this culinary adventure!
Ingredients
- 1 cup all-purpose flour
The base for our sponge cake, all-purpose flour provides structure and allows the cake to rise while maintaining a tender crumb. - 1 teaspoon baking powder
This leavening agent helps the batter expand in the oven, creating a light and airy sponge that is essential for the Twinkie texture. - 1/4 teaspoon salt
Salt enhances the flavors in the cake, balancing the sweetness and bringing brightness to the overall taste. - 1/2 cup sugar
Sugar not only sweetens the cake but also contributes to its moistness and texture by helping to create a tender crumb through creaming. - 1/2 cup unsalted butter, softened
Butter adds richness and moisture to the cake, while its fat content helps create a velvety texture. - 2 large eggs
Eggs provide structure and stability to the cake, as well as contribute moisture and richness to the flavor. - 1/2 cup whole milk
Milk adds moisture to the batter, helping to create a cake that’s soft and tender, while also enhancing the overall flavor. - 1 teaspoon vanilla extract
Vanilla extract infuses the cake with sweet, aromatic notes, elevating the flavor profile of the sponge. - 1 cup heavy cream
This forms the basis of the luscious filling, lending a rich texture and flavor that perfectly complements the sponge. - 1/2 cup powdered sugar
Powdered sugar sweetens the cream filling and helps to stabilize it, allowing it to hold its shape when piped. - 1 teaspoon vanilla extract (for filling)
Similar to the sponge, this adds depth and sweetness to the filling, making every bite rich in flavor.
Directions & Preparation
Step 1: Preheat your oven to 350°F (175°C).
Preheating the oven is an essential step as it ensures that your cakes start cooking at the right temperature. This is crucial for achieving the perfect rise and texture in your Twinkies.
Step 2: In a medium bowl, combine flour, baking powder, and salt. Whisk together and set aside.
Sifting together the dry ingredients ensures that they are evenly distributed and helps prevent clumps, leading to a more consistent batter. This mixture provides the foundational structure and balance needed in the cake.
Step 3: In a large mixing bowl, cream together the softened butter and sugar until light and fluffy.
Creaming the butter and sugar incorporates air into the mixture, which helps the cake rise and achieve a light texture. This step typically takes about 3-5 minutes; you'll see it become pale and fluffy, indicating it’s ready.
Step 4: Add the eggs one at a time, mixing until well incorporated after each addition.
Adding eggs individually helps maintain the emulsion of the batter. Each egg contributes its own moisture and richness, thus enhancing the cake's overall texture and flavor.
Step 5: Stir in the vanilla extract.
This step infuses your batter with aromatic flavor, enhancing the overall profile of the cake. The warmth of the vanilla perfectly complements the sweetness of the sugar.
Step 6: Gradually add the dry ingredients to the butter mixture, alternating with the milk. Mix until just combined.
Alternating between the dry ingredients and milk helps maintain a smooth batter without overmixing, which can lead to a denser cake. The batter should be thick yet pourable.
Step 7: Prepare the Twinkie pan by lightly greasing it with butter or non-stick spray.
Properly greasing the pan is crucial; it prevents the cakes from sticking and allows them to be easily removed once baked. A non-stick spray can ensure a clean release without affecting the texture.
Step 8: Using a piping bag, fill each cavity of the Twinkie pan about 2/3 full with the batter.
Filling the pan correctly allows enough room for the cakes to rise without overflowing. A piping bag can help achieve even distribution and neatly filled molds, which is key for a uniform appearance.
Step 9: Bake in the preheated oven for about 20 minutes, or until a toothpick inserted comes out clean.
Baking the cakes until a toothpick comes out clean ensures they are fully cooked while remaining moist. Keep an eye on them towards the end of the baking time to avoid overbaking, which can lead to dryness.
Step 10: Allow the cakes to cool in the pan for 5 minutes before transferring to a wire rack to cool completely.
Cooling the cakes in the pan slightly helps them set and makes them easier to handle, while transferring to a wire rack ensures they cool evenly. This step is vital for achieving the right texture.
Step 11: While the cakes cool, prepare the cream filling by whipping the heavy cream, powdered sugar, and vanilla extract until soft peaks form.
Whipping the cream incorporates air, creating a light and fluffy filling that contrasts with the dense cake texture. Soft peaks mean the cream is just thick enough to hold its shape without being too stiff.
Step 12: Once the cakes are completely cool, use a piping bag to fill them with the cream filling through the small holes in the bottom.
Filling from the bottom allows for a discreet method of adding the cream without affecting the appearance of the cake. Ensure you fill enough to create a generous filling without overflow.
Step 13: Store your homemade Twinkies in an airtight container in the refrigerator for up to five days.
Storing them in an airtight container helps maintain freshness and prevents them from drying out. The cooler temperature also keeps the cream filling stable, ensuring a delightful treat whenever you indulge.

Customizing Your Filling Flavors
While the classic filling is undeniably delicious, feel free to experiment with flavors to personalize your Twinkies. Adding a bit of cocoa powder to the cream can create a chocolate filling, or infusing it with different extracts can lead to refreshing variations. You could also fold in crushed fruit or flavors like almond or lemon for unique twists. Get creative and tailor your treats to your taste!
Tips for Achieving the Perfect Sponge
To ensure your Twinkies have the ideal sponge texture, avoid overmixing your batter once the dry ingredients are added. Overmixing can develop the gluten, leading to denser cakes instead of a light and airy sponge. Monitoring your oven temperature accurately is also essential—using an oven thermometer can help you stay on track. Remember, patience during the cooling stage contributes significantly to the final texture!
The Importance of Proper Storage
Proper storage of your homemade Twinkies is key to enjoying them over several days. Using an airtight container not only keeps them moist but also prevents the absorption of odors from the refrigerator. If you find that your cakes are becoming a bit dry, a small layer of whipped cream can rejuvenate them. Don’t hesitate to freeze extra Twinkies for an indulgent treat later if you want; just wrap them well to maintain their flavor and texture.
FAQs
What if my batter is too thick?
If the batter seems too thick, try adding a small amount of milk, a tablespoon at a time, until it reaches the desired consistency.
Why did my Twinkies come out too dry?
Overbaking or not using enough moisture in your batter can cause dryness. Ensure your oven temperature is accurate and check them a few minutes before the suggested baking time.
Can I make mini Twinkies?
Yes, you can use a mini Twinkie pan and adjust the baking time. Mini versions will generally need less time in the oven, so watch them closely.
How can I flavor the cream filling?
You can add cocoa powder for chocolate cream filling, or experiment with flavors like mint or almond extract—just adjust the amounts to taste.
What can I do if my cream filling is too runny?
If your cream filling is too runny, try whipping it longer until it reaches soft peaks. You can also refrigerate it for a short period to help it firm up.
Is it necessary to chill the cakes before filling?
Yes, chilling the cakes helps them hold up better during filling, making them less likely to break or collapse.
Conclusion
Making homemade Twinkies is a rewarding experience that not only brings back fond memories but also allows for customization of flavors and ingredients. These delightful treats are a fantastic way to connect with baking and create something special for family and friends.
So gather your ingredients, roll up your sleeves, and enjoy the process. You’ll find that the joy of crafting these iconic cakes is well worth the effort, resulting in a snack that’s nothing short of delightful.
Recipe Card
Make Your Own Twinkies at Home for Real Flavor
Ingredients
Method
- Preheat your oven to 350°F (175°C).
- In a medium bowl, combine flour, baking powder, and salt. Whisk together and set aside.
- In a large mixing bowl, cream together the softened butter and sugar until light and fluffy.
- Add the eggs one at a time, mixing until well incorporated after each addition.
- Stir in the vanilla extract.
- Gradually add the dry ingredients to the butter mixture, alternating with the milk. Mix until just combined.
- Prepare the Twinkie pan by lightly greasing it with butter or non-stick spray.
- Using a piping bag, fill each cavity of the Twinkie pan about 2/3 full with the batter.
- Bake in the preheated oven for about 20 minutes, or until a toothpick inserted comes out clean.
- Allow the cakes to cool in the pan for 5 minutes before transferring to a wire rack to cool completely.
- While the cakes cool, prepare the cream filling by whipping the heavy cream, powdered sugar, and vanilla extract until soft peaks form.
- Once the cakes are completely cool, use a piping bag to fill them with the cream filling through the small holes in the bottom.
- Store your homemade Twinkies in an airtight container in the refrigerator for up to five days.
Notes
Additional serving suggestions: pair with a crisp salad, garlic bread, or roasted seasonal vegetables for balance.
For make-ahead, prep components separately and assemble just before heating to preserve texture.
Taste and adjust with acid (lemon/vinegar) and salt right at the end to wake up flavors.


