Introduction
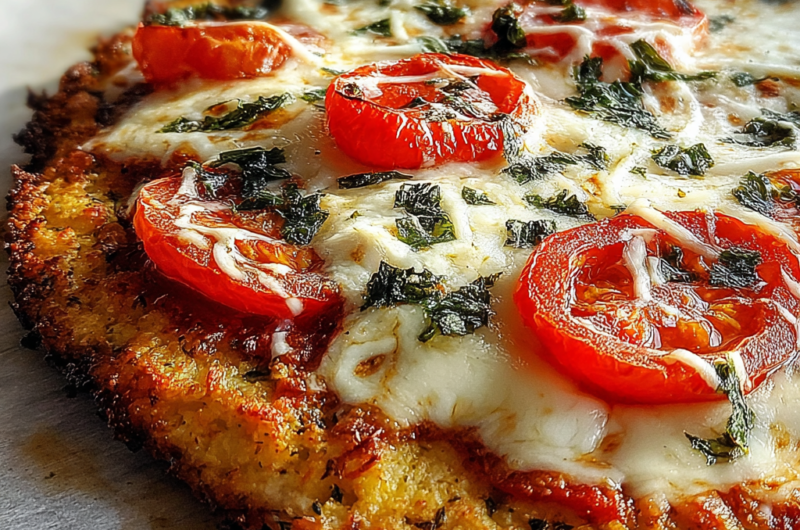
Cauliflower crust pizza is not just a trend; it's a celebration of flavor, texture, and health. This innovative take on pizza offers a gluten-free and lower-carb alternative that doesn't skimp on taste. The unique base allows you to enjoy your favorite toppings while sneaking in extra veggies.
With a simple preparation process, you'll find that making cauliflower crust at home is easier than it seems. The result is a crispy, satisfying base that pairs beautifully with a range of toppings. Whether you're preparing for a family dinner or a gathering with friends, this recipe is sure to impress.
Ingredients
- 1 medium head of cauliflower
Cauliflower serves as the primary ingredient, forming the base of the crust. Its mild flavor allows it to absorb the seasonings and enhance the overall taste. - 1 cup shredded mozzarella cheese
Mozzarella adds creaminess and helps bind the cauliflower together. It also melts beautifully, providing that classic gooey texture we associate with pizza. - 1/4 cup grated Parmesan cheese
Parmesan imparts a sharp, nutty flavor that complements the mozzarella and elevates the crust. It also aids in achieving a firmer texture. - 1 large egg
The egg acts as a binding agent, helping to hold the cauliflower and cheese mixture together while providing added richness. - 1 teaspoon garlic powder
Garlic powder infuses the crust with flavor, enhancing the overall taste profile. It's a subtle yet necessary ingredient for depth. - 1 teaspoon Italian seasoning
This blend of herbs adds aromatic elements, giving the crust a pizza-like flavor that complements your chosen toppings. - Salt and pepper to taste
Seasoning the crust appropriately elevates its flavor. A balance of salt and pepper enhances all other ingredients in the recipe.
Directions & Preparation
Step 1: Preheat your oven to 425°F (220°C).
Preheating is crucial as it ensures your pizza crust begins cooking immediately, resulting in a crunchy texture. An adequately heated oven will help to achieve a golden and firm base.
Step 2: Prepare the cauliflower by removing the leaves and stem, then chop it into florets.
Chopping the cauliflower allows for easier processing in a food processor, ensuring a finer consistency that leads to a more cohesive crust. This step is vital for achieving that pizza-like texture.
Step 3: Pulse the cauliflower florets in a food processor until they resemble rice or fine crumbs.
Processing the cauliflower to a rice-like texture helps ensure it cooks evenly and provides the right consistency for the crust. This step can greatly affect the final texture of your pizza base.
Step 4: Transfer the riced cauliflower to a clean kitchen towel and squeeze out as much moisture as possible.
Removing excess moisture is essential to prevent a soggy crust. This process ensures that your cauliflower crust remains firm and crispy during baking.
Step 5: In a mixing bowl, combine the riced cauliflower, mozzarella, Parmesan, egg, garlic powder, Italian seasoning, salt, and pepper.
Mixing these ingredients together forms the structure of your pizza crust. Ensuring even distribution of the cheeses and seasonings will create a uniformly flavored base.
Step 6: Line a baking sheet with parchment paper and spread the cauliflower mixture into a pizza shape, about 1/4 inch thick.
Shaping the crust evenly across the baking sheet ensures consistent cooking, preventing thicker areas from becoming undercooked. The parchment paper also prevents sticking, allowing for easy removal afterward.
Step 7: Bake the crust for 25-30 minutes until golden and firm to the touch.
Baking the crust properly is key to achieving that desired crispiness. The golden color indicates that you have a well-cooked base that will hold up against toppings.
Step 8: Remove the crust from the oven and add your favorite pizza toppings.
This is your creative moment! Using a baked crust means you can pile on sauces, vegetables, and proteins without worrying about sogginess, offering a fulfilling experience.
Step 9: Return the pizza to the oven and bake for an additional 10-15 minutes, or until the cheese is melted and bubbly.
Allowing the pizza to bake again with toppings ensures that flavors meld beautifully. Watching the cheese melt can be especially satisfying and lets you know you're getting close to serving.
Step 10: Let the pizza cool for a few minutes before slicing and serving.
Allowing the pizza to rest helps the crust set, reducing the risk of it breaking apart when slicing. This necessary step enhances the overall eating experience.

Elevate Your Topping Choices
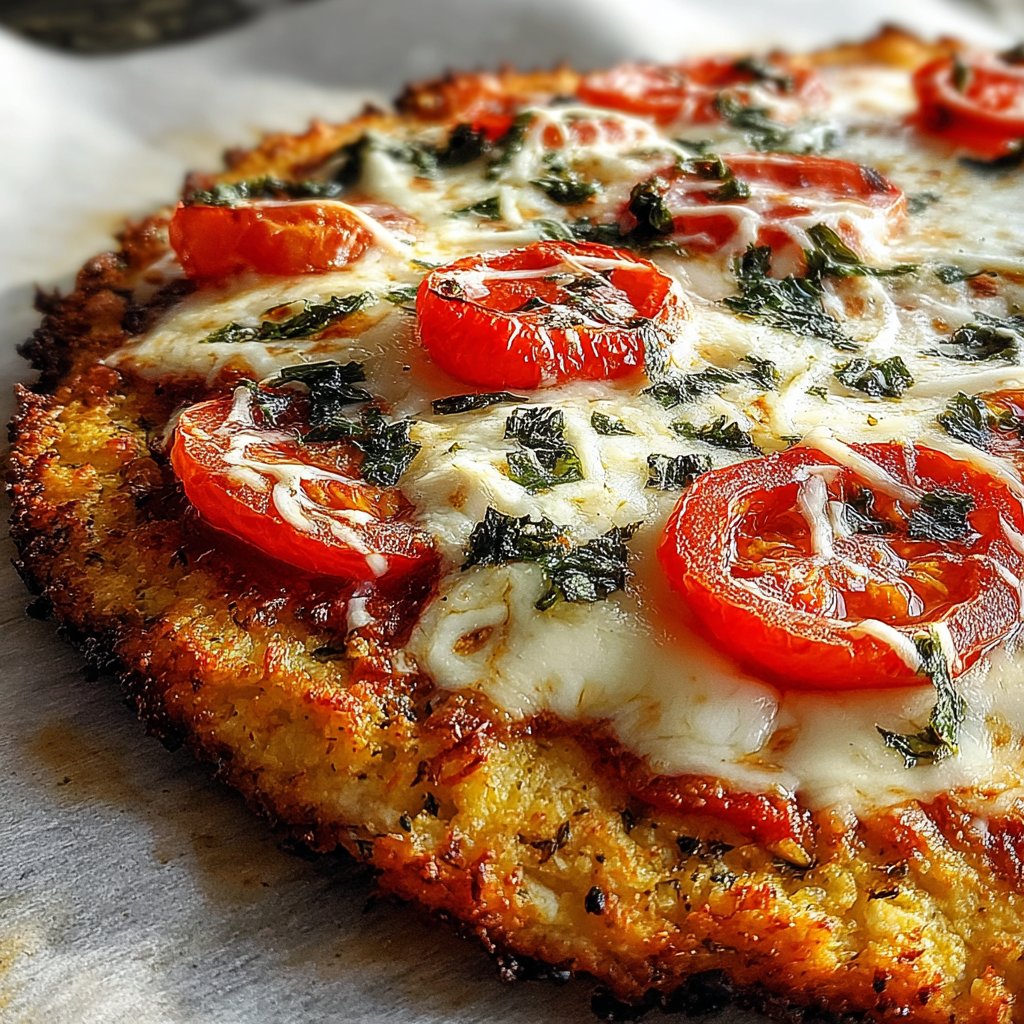
One of the great advantages of cauliflower crust pizza is its versatility with toppings. From classic pepperoni to vibrant roasted vegetables, you can truly make it your own. Consider using sauces like pesto or barbecue for a twist. The crust's neutral flavor complements an array of ingredients wonderfully, allowing for customization with your family's favorites.
Nutritional Benefits Beyond the Crust
This pizza is not only delicious but also packed with nutritional benefits. Using cauliflower as a base adds fiber and vitamins C and K, making it a healthier choice compared to traditional pizza. It's a clever way to increase your vegetable intake while enjoying a beloved dish.
Experiment with Seasoning
Don’t be afraid to further personalize the flavor of your crust. Aside from garlic powder and Italian seasoning, consider incorporating red pepper flakes for heat or dried herbs like oregano and thyme for extra aroma and taste. The flavor possibilities are endless, allowing you to create a signature pizza that reflects your palate.
FAQs
What if my crust is too thick?
If your crust is too thick, it may not cook evenly. For next time, ensure you spread the mixture evenly and keep it around 1/4 inch thick for optimal crispiness.
What can I do if my crust turns out bland?
To prevent blandness, ensure you properly season the cauliflower mixture with adequate salt, pepper, and spices. A sprinkle of additional herbs can enhance the flavor.
How can I make my crust more firm?
For a firmer crust, make sure to squeeze out excess moisture after processing the cauliflower. Also, longer baking at the initial stage will help develop structure.
Can I use frozen cauliflower for this recipe?
Yes, frozen cauliflower can be used. Just make sure to thaw and thoroughly drain it of any moisture before proceeding with the recipe.
Is there a way to increase the protein content?
To boost protein content, consider adding more mozzarella cheese or even incorporating ground turkey or chicken into the toppings for a heartier meal.
What are some quick topping ideas for this pizza?
Quick topping ideas include sliced tomatoes, fresh basil, olives, or a simple combination of bell peppers and mushrooms for a colorful, tasty result.
Conclusion
Cauliflower crust pizza not only delights with its unique texture but also serves as a canvas for endless culinary creativity. The health benefits it brings make it far more than just a substitute; it’s a delicious addition to your meal repertoire.
Give this recipe a try and savor the satisfaction of creating a pizza that caters to both your taste buds and your health goals. You'll be surprised at how easy and rewarding it is to enjoy a wholesome, flavorful pizza dish at home.
Recipe Card
Deliciously Nutritious Cauliflower Crust Pizza Recipe
Ingredients
Method
- Preheat your oven to 425°F (220°C).
- Prepare the cauliflower by removing the leaves and stem, then chop it into florets.
- Pulse the cauliflower florets in a food processor until they resemble rice or fine crumbs.
- Transfer the riced cauliflower to a clean kitchen towel and squeeze out as much moisture as possible.
- In a mixing bowl, combine the riced cauliflower, mozzarella, Parmesan, egg, garlic powder, Italian seasoning, salt, and pepper.
- Line a baking sheet with parchment paper and spread the cauliflower mixture into a pizza shape, about 1/4 inch thick.
- Bake the crust for 25-30 minutes until golden and firm to the touch.
- Remove the crust from the oven and add your favorite pizza toppings.
- Return the pizza to the oven and bake for an additional 10-15 minutes, or until the cheese is melted and bubbly.
- Let the pizza cool for a few minutes before slicing and serving.
Notes
Additional serving suggestions: pair with a crisp salad, garlic bread, or roasted seasonal vegetables for balance.
For make-ahead, prep components separately and assemble just before heating to preserve texture.
Taste and adjust with acid (lemon/vinegar) and salt right at the end to wake up flavors.